Voiceover production is a fascinating field that blends creativity with technical expertise. Whether you’re a voiceover artist just starting out or a producer aiming to refine your process, countless questions can arise along the way. This article answers the top ten FAQs in voiceover production, offering insights to help you navigate and thrive in this dynamic industry.
Voiceover production sits at the intersection of performance and post production, and small decisions can change the final sound more than people expect. If you’re a producer hiring Voiceover talent, you’re probably juggling script changes, deadlines, and usage rights. If you’re a voice artist, you’re balancing sound quality, delivery, and client feedback.
These 10 FAQs cover the practical stuff that keeps projects smooth: the home studio basics, how to choose the right read, how to prep scripts, what revisions really mean, and how to price work fairly.
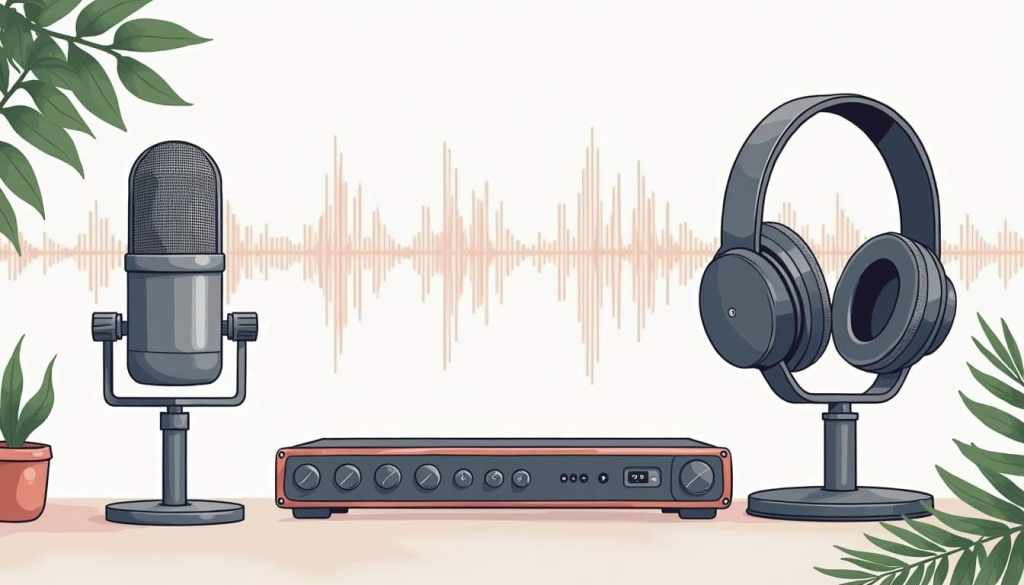
1. Voiceover Equipment Checklist for a Home Studio
When starting in voiceover production, having the right equipment is crucial. At a minimum, you’ll need a good quality microphone, headphones, and a computer with audio editing software. However, the specifics can vary based on your budget and the quality you aim to achieve. As you progress in your voiceover career, you might find yourself investing in additional tools that can elevate your recordings and streamline your workflow.
Microphones
Investing in a quality microphone is essential. Condenser microphones are popular among voiceover artists due to their sensitivity and clarity. USB microphones are also a great option for beginners, as they are easy to use and often come at a lower price point.
Do I need a dynamic mic for an untreated room?
If your room isn’t treated yet, a dynamic microphone can be easier to manage because it typically picks up less room tone than a sensitive condenser. That doesn’t mean “dynamic is always better,” it just means you’ll often fight fewer reflections and less background noise while you’re still building your setup.
Headphones
Good headphones allow you to hear your recordings accurately, helping you catch any mistakes or unwanted background noise. Look for closed-back headphones that provide isolation, ensuring you can focus on your voice without distractions. Additionally, comfort is key, especially during long recording sessions, so opt for models with cushioned ear pads and an adjustable headband to ensure a snug fit without causing fatigue.
Audio Interface
If you choose an XLR microphone, you’ll need an audio interface to connect it to your computer. This device converts the analog signal from your microphone into a digital format that your computer can understand, enhancing the overall sound quality. Many audio interfaces come equipped with preamps that can boost your microphone’s signal, providing a clearer and more professional sound. Some models even offer built-in effects and monitoring capabilities, allowing you to fine-tune your recordings in real-time.
Soundproofing
In addition to the core equipment, consider investing in soundproofing materials for your recording space. This can range from simple solutions like acoustic foam panels to more elaborate setups involving soundproof curtains or even a dedicated vocal booth. Proper sound treatment can significantly reduce echo and background noise, resulting in cleaner recordings that require less post-production editing. Even small adjustments, such as recording in a closet filled with clothes, can help absorb sound and improve your audio quality.
Quick room test before you buy anything
Clap once and listen. If you hear a sharp slap or ringing tail, you’re dealing with reflections, not “noise.” Start by adding absorption close to you (behind and slightly to the sides), then tackle the rest of the room. This usually improves results more than upgrading your mic.
Pop Filter
A pop filter is another essential accessory for voiceover work. This simple tool, typically made of a mesh screen, helps to eliminate plosive sounds—like the hard “p” and “b” sounds—that can cause unwanted distortion in your recordings. By placing a pop filter in front of your microphone, you can achieve a smoother sound and reduce the need for extensive editing later on. It’s a small investment that can make a significant difference in the clarity of your voiceover work.
2. How to Choose the Right Voiceover Style for Your Project
Choosing the right voiceover style can be a game-changer for your project. It largely depends on the content and the audience you are targeting. Different styles convey different emotions and messages, so it’s essential to align your voice with the project’s goals.
Understanding Your Audience
Before selecting a style, consider who will be listening. A corporate training video may require a more professional tone, while a children’s audiobook might benefit from a playful and animated delivery. Understanding your audience’s preferences will guide your stylistic choices.
For producers, the fastest way to get the right style is to send two references: one “vibe” example (what you like) and one “avoid this” example (what you don’t). That one extra reference often saves a full revision round.
Experimentation
Don’t be afraid to experiment with different styles. Record a few samples in various tones and pitches, then listen back to determine which resonates best with the material. This practice can also help you discover your unique voice and strengths.
3. Script Preparation for Voiceover, A Client and Talent Checklist
Script preparation is a vital step in the voiceover process. A well-prepared script not only enhances performance but also saves time during recording and editing. Taking the time to understand the script can significantly improve the final product.

Familiarization
Before recording, read through the script multiple times. Familiarize yourself with the content, tone, and pacing. This practice allows you to deliver a more natural and engaging performance, as you’ll be less focused on reading and more on conveying the message.
Marking Up the Script
Consider marking up your script with notes on pauses, emphasis, or emotional cues. This technique helps you visualize the flow of your delivery and ensures you hit the right notes during recording. It can be especially helpful for longer scripts where maintaining engagement is crucial.
Client script prep checklist (saves pickups)
Before you send the script, lock these items:
- Brand names and pronunciations (include phonetic spelling)
- Numbers, dates, and acronyms (how should they be read aloud?)
- Final on-screen timing constraints (if the VO must hit exact beats)
- The intended use (internal, web, paid ads), because this affects rates and read style
- A “tone line” at the top (example: “Warm, expert, calm, not salesy”)
4. Voiceover Revisions, How to Avoid Pickups and Manage Change Requests
Revisions are a natural part of the voiceover process. Whether it’s a change in script or feedback from a client, knowing how to handle revisions effectively is essential for maintaining professionalism and ensuring client satisfaction.
Stay Open to Feedback
Receiving feedback can sometimes be challenging, but it’s important to remain open to suggestions. Clients may have specific visions for their project, and being adaptable can lead to a better final product. Approach revisions as an opportunity to refine your work.
A helpful rule: revisions are performance adjustments on the approved script, pickups are new lines or changed copy. If you separate those in writing, expectations stay clean and turnaround stays fast.
Efficient Editing
When making revisions, ensure you have a streamlined editing process in place. Familiarize yourself with your audio editing software to make quick adjustments. This efficiency not only saves time but also demonstrates your professionalism to clients.
5. How to Record High Quality Voiceover Audio at Home
Recording high-quality audio is crucial in voiceover production. Poor audio quality can detract from even the best performances, so understanding best practices can make a significant difference.
Room Acoustics
The environment in which you record plays a vital role in audio quality. Choose a quiet space with minimal background noise. Consider using soundproofing materials or blankets to dampen echoes and improve acoustics.
Microphone Technique
How you position your microphone can greatly affect the sound. Maintain a consistent distance from the mic, typically around 6 to 12 inches, and avoid plosive sounds by using a pop filter. This technique helps capture a clean and professional sound.
As a starting point, place the mic roughly 6–12 inches away and slightly off-axis to reduce plosives, then adjust based on your voice and room.
6. How to Market a Voiceover Demo Reel and Win Clients
Marketing is essential for any voiceover artist looking to thrive in a competitive industry. Building a personal brand and promoting your skills can help attract clients and opportunities.
Creating a Demo Reel
A demo reel is your calling card in the voiceover world. It showcases your range and abilities, so invest time in creating a high-quality reel that highlights your best work. Keep it concise, ideally between one to two minutes, and include a variety of styles.
Keep most demos around 60–90 seconds and lead with your strongest clip in the first 5–10 seconds. A common structure is ~5 short “spots” that show range without dragging.
Networking
Networking is key in the voiceover industry. Attend industry events, join online forums, and connect with other professionals on social media. Building relationships can lead to collaborations and job opportunities, helping you expand your reach.
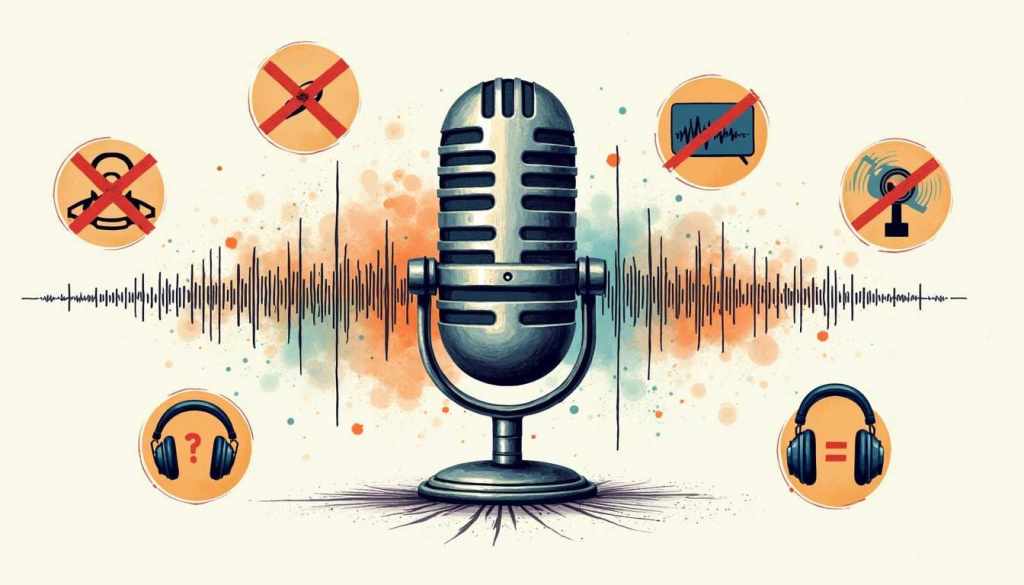
7. Common Voiceover Production Mistakes Clients and Talent Should Avoid
Even seasoned voiceover artists can fall into common traps. Being aware of these mistakes can help you elevate your work and avoid unnecessary setbacks.
Ignoring Script Context
One of the most frequent mistakes is neglecting the context of the script. A voiceover should complement the visuals or narrative it accompanies. Failing to consider this relationship can lead to a disjointed final product.
Overacting
While enthusiasm is important, overacting can detract from the authenticity of your delivery. Aim for a natural tone that reflects the script’s intent. Listening to your recordings critically can help you identify areas where you may be overdoing it.
8. Voiceover Rates, Pricing Models, Usage Rights, and What Clients Actually Pay
Determining your rates can be one of the most challenging aspects of being a voiceover artist. Several factors come into play when setting your prices, and understanding these can help you establish fair and competitive rates.
Experience Level
Your level of experience plays a significant role in pricing. Beginners may start with lower rates to build their portfolio, while seasoned professionals can command higher fees based on their expertise and reputation. Consider your experience when establishing your rates.
Project Scope
The nature of the project also influences pricing. Factors such as the length of the script, the intended use (commercial, corporate, etc.), and the required turnaround time should all be considered. Be transparent with clients about what your rates include to avoid misunderstandings.
What clients are really paying for
Clients aren’t just paying for “reading words.” They’re paying for performance, clean audio, your turnaround time, and the right to use the recording in specific places (internal training, web video, paid ads, broadcast, etc.). Usage and distribution are often what separates a small corporate job from a large commercial buy.
Common voiceover pricing models clients see
Pricing model | How it’s calculated | Best for | Client watch-outs |
|---|---|---|---|
Per finished minute | Based on edited runtime | E-learning, narration | Clarify if editing is included |
Per word | Based on word count | Explainers, corporate | Define how you handle pickups |
Session fee + usage | Time to record + where it will run | Ads, paid media | Usage scope changes price |
Buyout | One flat fee | Internal or limited usage | Avoid vague “in perpetuity” |
If you’re budgeting, start with a benchmark and then refine by usage, see our guide on voiceover artist rates.
Use rate guides as benchmarks, not rigid price tags
If you’re unsure where to start, rate guides can help you benchmark common categories and usage assumptions (union and non-union). The key is to match the project type and usage to the right pricing model, then put the scope in writing.
9. Voiceover Editing and Mixing, What Happens After Recording
Editing is a crucial step in voiceover production that can significantly enhance the final product. It involves not only cutting out mistakes but also refining the overall sound quality.
Removing Flaws
During editing, it’s essential to listen for any mistakes, awkward pauses, or background noise that may have crept into the recording. Removing these flaws can create a polished and professional final product that resonates with listeners.
Adding Effects
Editing also allows for the addition of effects, such as reverb or EQ adjustments, to enhance the audio. However, it’s important to use these effects sparingly. Over-processing can lead to an unnatural sound, so aim for a balanced and clear final mix.
Deliverables clients typically expect (confirm before you record):
- Clean edited WAV (or AIFF), 24-bit, 48kHz unless requested otherwise
- Noise floor checked, breaths managed (not over-removed)
- Split files per line/scene if needed for editors
- One “raw” take only if requested (otherwise clients usually want clean)
10. Voiceover Industry Trends, AI, Usage Changes, and Where to Stay Updated
The voiceover industry is constantly evolving, with new technologies and trends emerging regularly. Staying informed is vital for any voiceover artist looking to remain competitive.
Follow Industry Leaders
One effective way to stay updated is to follow industry leaders and organizations on social media. They often share valuable insights, tips, and updates on trends that can help you stay ahead of the curve.
Participate in Workshops and Webinars
Consider attending workshops and webinars focused on voiceover production. These events provide opportunities to learn from experts, network with peers, and gain new skills that can enhance your craft.
Final Thoughts
Voiceover production gets easier when you treat it like a repeatable workflow: clear script, clear direction, clean recording, and a revision process that everyone understands. If you’re hiring voice talent, the fastest wins usually come from a better brief, locked pronunciations, and defined usage. If you’re talent, the biggest wins come from consistency: repeatable mic technique, reliable editing, and clear boundaries around pickups.
When you’re ready to level up your next voiceover, Twine makes it simple to find experienced voice artists who can deliver broadcast-ready audio on your timeline.
Related Reads
- Learn how much Voice Actor Rates typically cost for different usage types
- Explore our full Audio Production Cost Guide
- Top websites to find and hire Voice Actors Online