Do you know how to edit photos like a pro?
Hey – you’re great at what you do. You’re creative. You’re passionate. You know what you want. You have a vision in your head and you’re ready to bring it to life and impress your freelance clients. But, when it comes to photography – that’s easier said than done.
Scrolling Instagram, some photos just scream professional. However, it’s important to know they weren’t necessarily taken by a professional photographer, nor edited by a professional editor. Maybe, this was just one of those excellent photographs, taken by an amateur who simply knows how to edit photos like a pro?
In fact, a lot of the photographs you see on social media look like they’re fit for high-end publications – even if they’re taken and edited by people who have very little experience using editing software!
So, how do they look so good? Well, we’ve done our research, and we’re certain that the budding photographers behind the lens are following these 7 simple editing steps.
Read on to find out how you too can join the clan of professional photo editors, up your freelance game and make a name for yourself.
How to Edit Photos Like a Pro
Step 1: Develop Your Own Personal Style
Anyone can snap a photo and post it online – to really garner likes and gain a following, you need to stand out.
Think about your favorite photographer for a second. Most likely, it’s not the content that you’re attracted to, rather, it’s their style that strikes a chord. Perhaps it’s the vibrancy of their photos in an otherwise dull world, or maybe they’ve muted their colors perfectly and added just the right amount of film grain to make a modern shot look like it’s from a bygone era?
Whatever it is, their photos have a certain vibe that resonates with you. And if you want your photos to have the same effect on others, you need to find and establish your own personal style – which is not to say you should copy someone else’s. Instead, play around and explore until you find something that really speaks to you.
Step 2: Find Templates and LUTs
Need help finding your style? Turn to templates and LUTs.
With LUTs, you can enhance the coloring of your images in a snap, giving you perfectly detailed results without requiring you to mess around with every photo, every time. LUTs are great for letting you heavily stylize your images without forcing you to think and spend hours tweaking each one.
Know how to edit your photos like a pro with templates – you get specific looks, created by professional photographers, all in one click. Every adjustment is automatically made to bring a specific style to each and every one of your images.
To see how easy it is to use Templates, check out this quick overview from the LuminarAI team.
Step 3: Choose a Photo Editing Program
There’s no shortage of photo editing apps to choose from.
Whether you’re a professional editor busy editing portraits or a novice just getting started, there’s about a 100% chance you’ve heard of Photoshop and Lightroom, both by Adobe.
LuminarAI has been garnering a lot of attention and press lately, particularly because of how easy it is to use, not to mention its AI engine that analyzes each photo and gives you the power to improve it with ease.
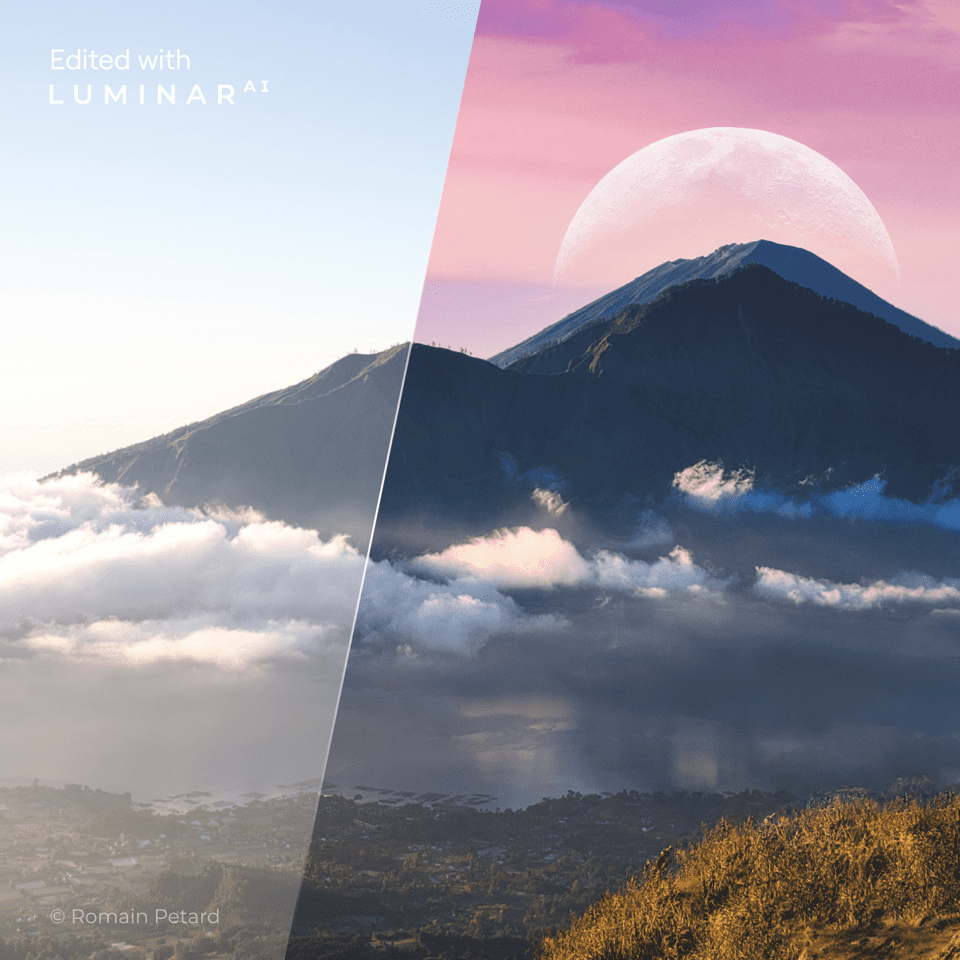
Import your photos and in no time, you’ll be able to use FaceAI, SkinAI, and BodyAI to enhance the subject in your portraits, with full control courtesy of easy-to-use sliders. Was Mother Nature not cooperating on shoot day? With SkyAI, you can replace the sky in a snap.
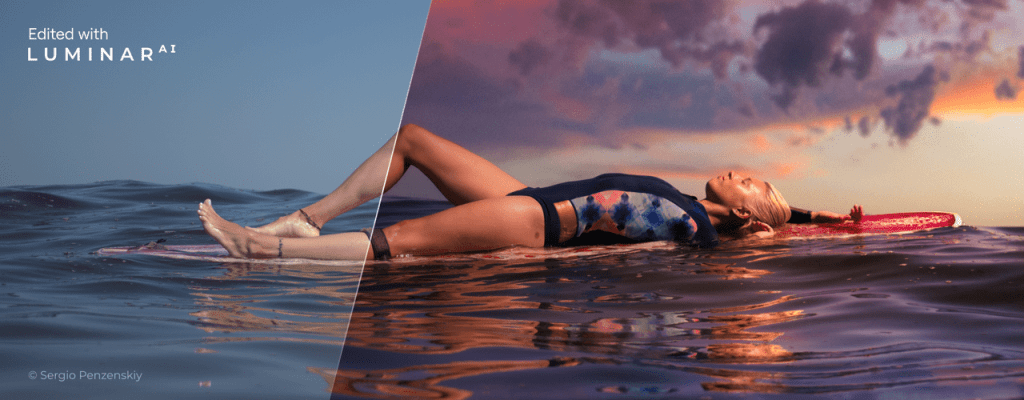
Once you’ve made your changes, you can drag a slider left and right to see how your photo looks before and after the changes are implemented, all in real time.
Luminar AI also includes plugins for Photoshop and Lightroom, so you can bring the Luminar AI magic to your existing workflow.
Step 4: Play With Colors
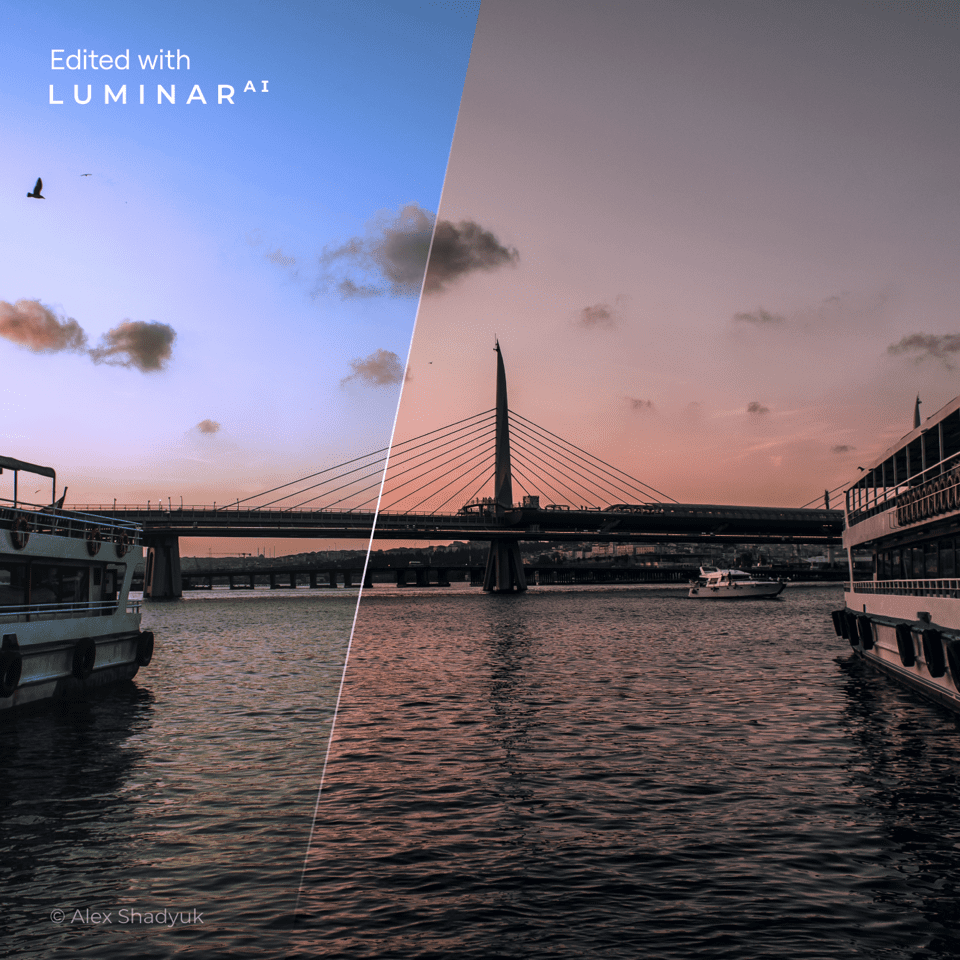
Picture this – you take a stunning photograph on a gorgeously-lit day. The colors are so vibrant, so magical, that you just know that the final product is going to look astonishing. But, when you import the photo into your Mac or PC, it looks nothing like what you saw in person.
Disaster right?
You’re not alone. In fact, chances are those ridiculously vibrant photos you see were heavily edited before making their way onto Instagram or your favorite magazine. But there’s good news. You don’t have to be a professional photographer or graphic designer to get the same results. With the right photo editing app, especially one that’s built for pros and newbies, you know how to make photos look professional with minimal effort.
Step 5: Add Some Pizzaz
Getting your photos just right goes way beyond just playing with colors, saturation, and lighting. It involves playing around with pretty much everything and adding the right kind of finishing touches to your photos.
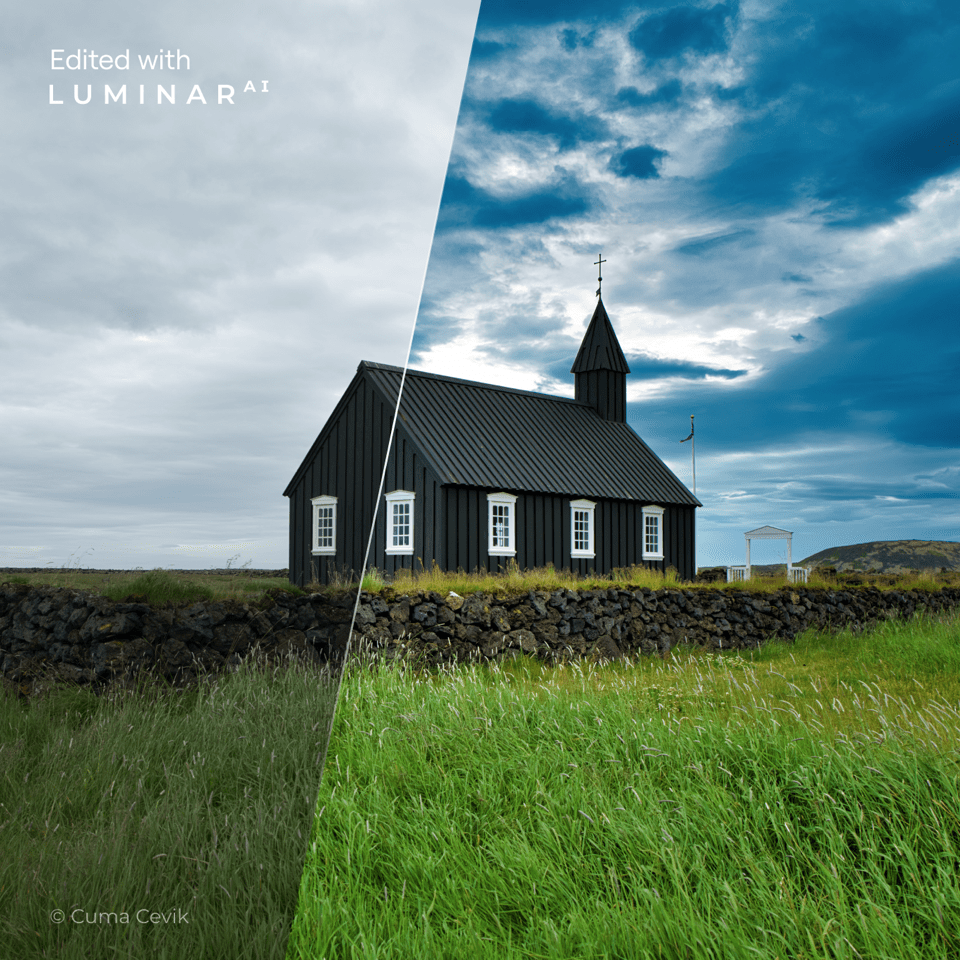
Want to make that overcast photo look a little brighter? Use the Sunrays tool to add some sunshine along with rays of light. And just as easily, you can change the mood, add some dramatic flair, or add a little film grain to your pics.
Step 6: Follow the Latest Trends
What’s trending in photography? That depends on where you’re looking.
Follow certain photographers on Instagram and you might encounter a lot of the same styles, especially if you find yourself attracted to a particular type of photography. If you love animal shots in black and white, you may end up finding your feed flooded with that and ultimately assume that black and white photography is what everyone’s doing.
That’s why it’s important to not only mix up what you’re looking at, but where you’re looking. Open your eyes to different websites, various magazines, and wherever else photography is prevalent. You may very well find yourself discovering a certain style and new trend that you didn’t know existed.
And as you develop your own style, always remember that trends come and go. While gimmicky photos could garner attention, you want your photos to communicate a certain vibe while also appearing timeless. Keep playing around and you’ll find that perfect balance. Also, don’t forget to use quality photo editing software when adjusting the size of your photos – using inferior software will lower the quality of your results…
Step 7: Straighten the Lines
Getting the perfect shot with accurate horizontals and verticals is never easy, even if you’ve got the best camera at your disposal. And if your photos seem a little off, they might come across as less professional. Thankfully, smart photo editing software can help fix that, giving you control over perspective and angles.
But that’s not to say that every photo needs to have perfect angles. There’s magic in discovering your own style, even if it involves some level of distortion. So, play around and have fun. After all, that’s what finding your style is all about.
Find Your Style With a Photo Editing App
Now that you know how easy it is to edit your photos like a pro, it’s time to get creative. So kick the tires of a few photo editors and see if they’re the right fit. LuminarAI makes it easy to edit your photos and find your style with a variety of templates. You can try them for free at Skylum.com.
Whatever photo editing app you decide to use, take the time to explore it and get a feel for it. Don’t be afraid to import your photos, make adjustments, and start all over again — even if you love what you see. When you take the time, that’s when the magic happens.
And remember, finding your style takes patience, determination, and vision. It’s also something that will get better over time and naturally evolve as you take more photos and edit them. So play around and have fun. Isn’t that what freelancing is all about?
Ready to hire? Our marketplace of over 410,000 freelancers have the skills and expertise ready to take your photography project to the next level. From photographers to videographers, graphic designers to photo editors – browse their portfolios here.